I am on

Pages

2012/03/30

Beautiful Things

There is a song stuck on my head for a few days now.

The song is called "Beautiful Things" by Gungo which is the inspiration for this photo I took using Iphone. I thought I'd incorporate the message of the song to image.

edited in Instagram

Since we got our Yoda the poodle, I have been walking more often. This is the trail where we walk and in this plant is where Yoda goes..well you know, marks his territory.

Tucson,AZ


We see walk by here very often but I have never viewed this scene in this way, as if sunset was kissing the flowers goodnight.


What's your LSS song?


2012/03/29

Image Transfer Experiment

Welcome to my very first image fabric transfer attempt.


There are numerous tutorials out there on how to transfer laser-jet print on to fabric. I tried to use whatever I could find around the house for this project. The materials I used were:

* wax paper
* flat iron
* water
*laser-jet printer

There are other materials that are more effective to use which I recommend because wax paper could be a little tricky to print on and quite a little scary. Because the wax paper is so thin, the edge can curl and jam the printer. 
After several attempts, the best way to print an image to a wax paper was to layer it on a regular paper and tape wax paper an inch lower from the paper. The paper also absorbs the extra wax from the wax paper. 

And do not forget to mirror print it.
Then, I used flat iron to transfer the wording face-down.


The same technique I used from my previous project.

I freaked out a little when I saw my printer smoked a little. But I thought, If I could use wax paper as lining when baking biscuits for 400F for 8-11 minutes, I guess it could stand the printer's 356F heat for less than 5 secs. My printer is still okay.
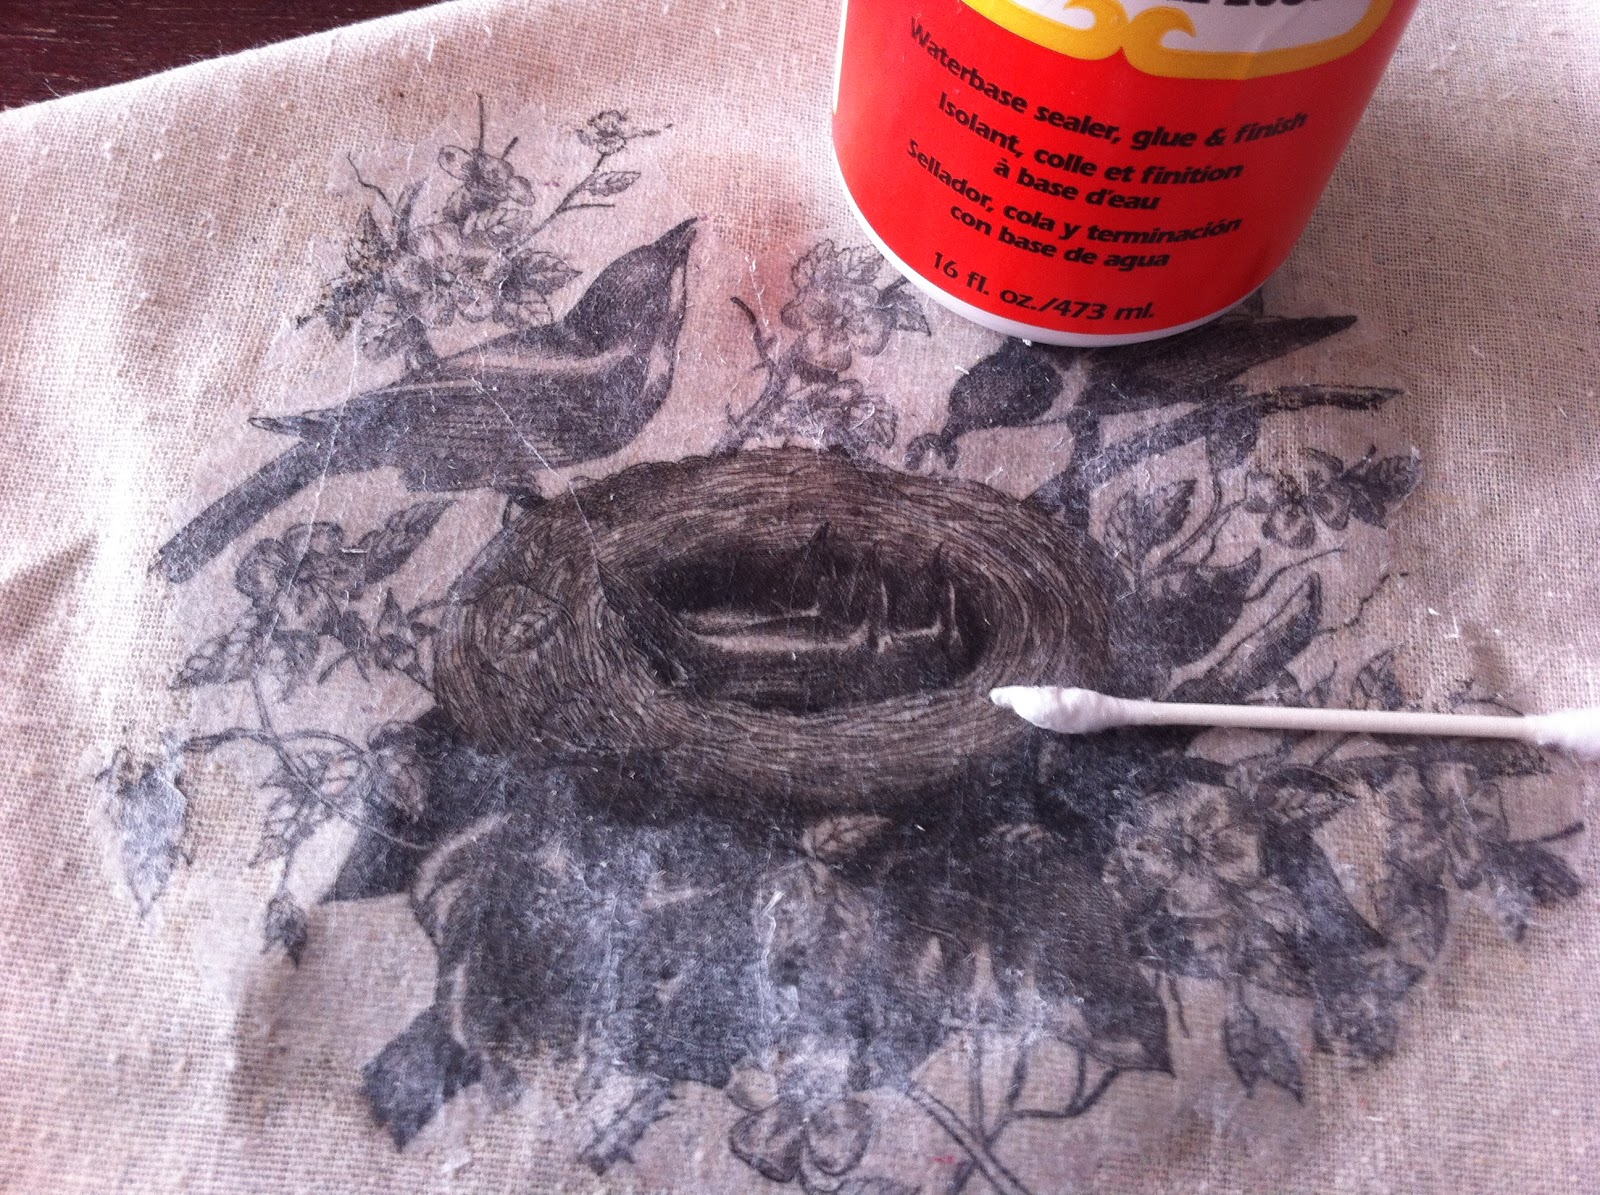
I used a different technique for this one. Printed an image the same way. I brushed some modge podge onto the fabric, and paste the printed image.  
Image from The Graphic's Fairy
 

                            I was impatient so I iron it to dry quickly. Made sure the image stick real good.

Time to do the fun part. After the modge podge had dried, sprinkle some water and rob the wax paper off.

Seal the image when you are done!

You can either hang it...


frame it.


vif187


2012/03/23

Toy to Decor


I've been keeping myself busy in welcoming spring by making spring inspired decors.


I went to my favorite hang-out (thrift store) and saw these seemed to be useless junks that nobody seemed to want to lay their hands on :( Poor unfortunate toys 


This probably once belonged to a little mighty warrior. I can tell by it's visible battle marks. 


 I saw that these items has a potential to present my love for French inspired decor.


I covered the shield with a fabric and round the sides with hemp string. The upside down shape resembles a window. I wrote "Bienvenue", French for "welcome" using image transfer technique which I will share on my next post.

Then coated the rusted flowering can with paint, and brushed some chalk paint in the middle...

...to go with any type of seasons :) I will be adding this to my Etsy store Collection.

Thanks for visiting today :)

 Have a Happy Friday!

five days five ways  feature friday free for all


vif187
Stuff and NonsenseChic on a Shoestring Decorating

shabby creek cottage


Funky Junk's Saturday Nite Special
Poofy Cheeks