
Welcome to my very first image fabric transfer attempt.

There are numerous tutorials out there on how to transfer laser-jet print on to fabric. I tried to use whatever I could find around the house for this project. The materials I used were:
* wax paper
* flat iron
* water
*laser-jet printer
There are other materials that are more effective to use which I recommend because wax paper could be a little tricky to print on and quite a little scary. Because the wax paper is so thin, the edge can curl and jam the printer.
After several attempts, the best way to print an image to a wax paper was to layer it on a regular paper and tape wax paper an inch lower from the paper. The paper also absorbs the extra wax from the wax paper.
And do not forget to mirror print it.
Then, I used flat iron to transfer the wording face-down.
 |
| The same technique I used from my previous project. |
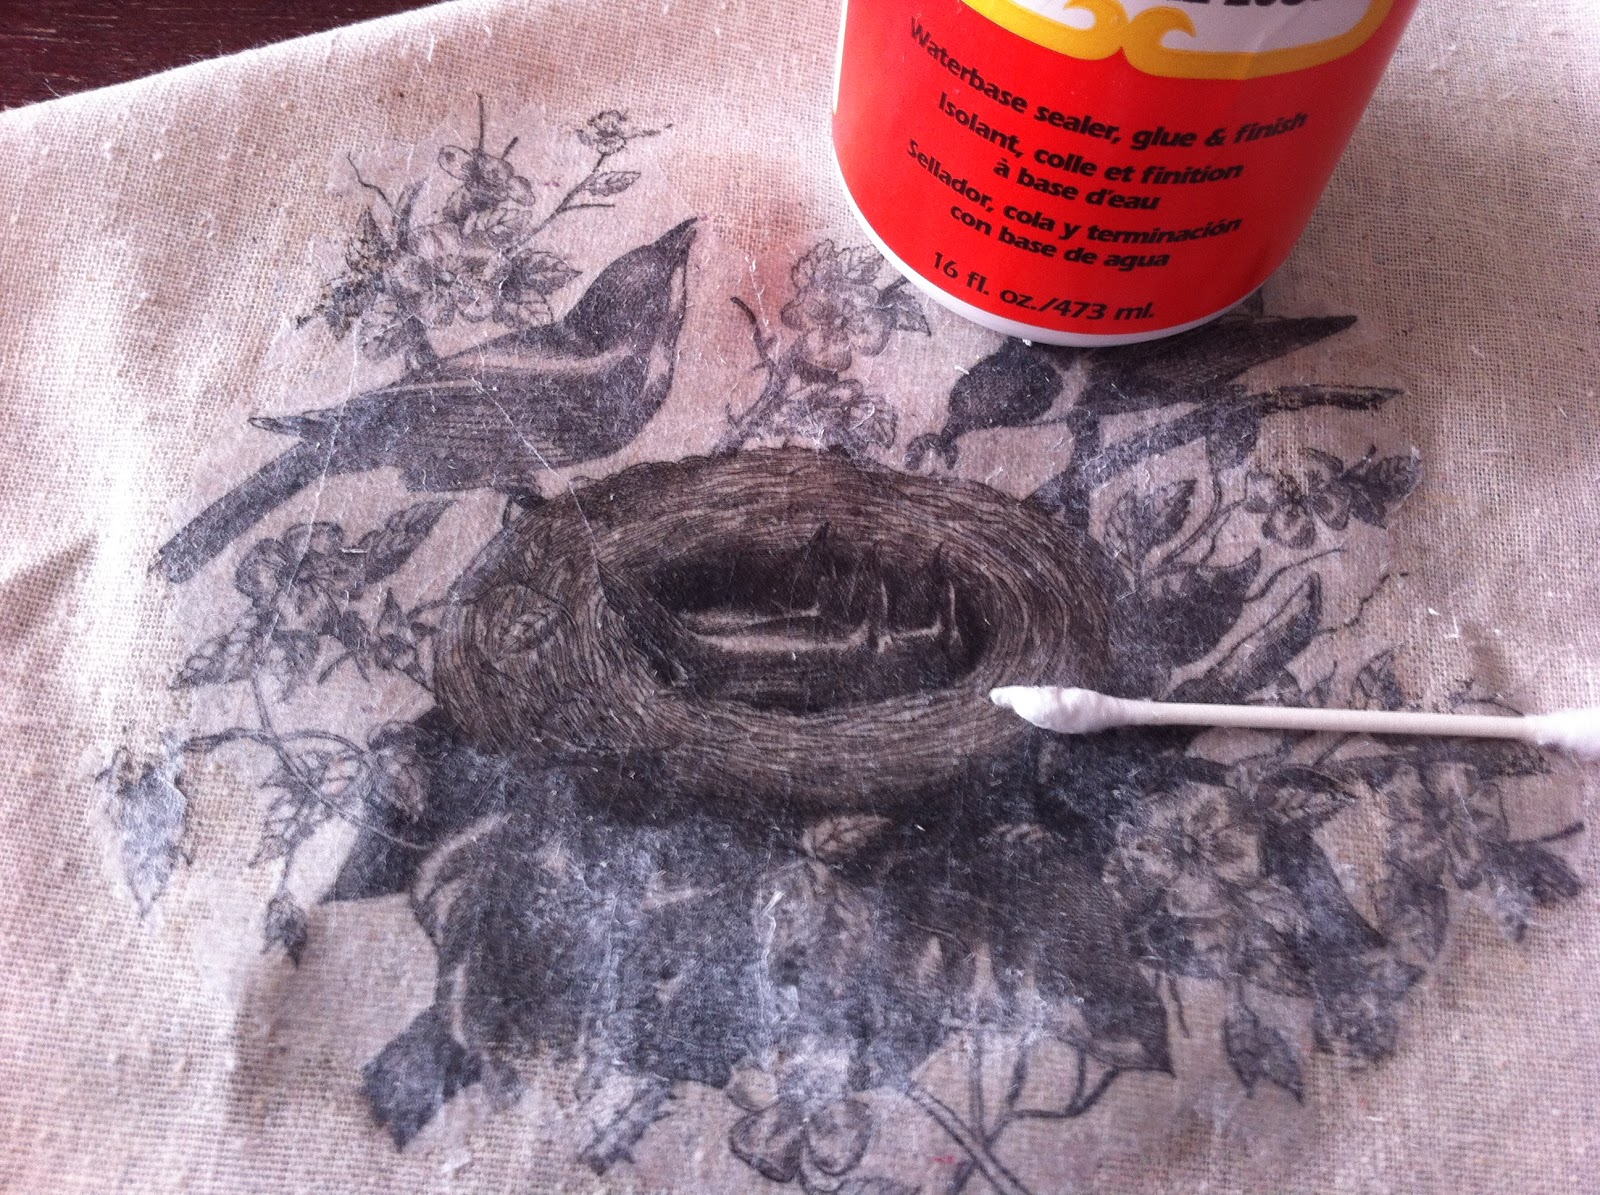
I used a different technique for this one. Printed an image the same way. I brushed some modge podge onto the fabric, and paste the printed image.
 |
| Image from The Graphic's Fairy |

Time to do the fun part. After the modge podge had dried, sprinkle some water and rob the wax paper off.

Seal the image when you are done!
You can either hang it...

frame it.


I'm impressed! It looks great, it is a lovely image.
ReplyDeleteHi I'm follow you too. You can comment on my blog in english, no problem.
ReplyDeletehttp://catiarosaantenada.blogspot.com.br/
Bjinhos
I'll have to give this a try! Thanks for sharing!
ReplyDeletetry tissue lined with printing paper...works too
ReplyDeleteGREAT EASTER PROJECT!!!
Wow that is beautiful. I love the image and the technique is fearless!
ReplyDeleteHave a great day.
Always, Queenie
smoke from the printer!? eeeee! I'm glad it turned out ok, I love the image and what you did with it
ReplyDeleteGorgeous, Myric! I also love your new blog header! It looks so nice for spring!
ReplyDeleteHugs,
Cindy
thanks...I have never tried this and have always wondered how it was done. You make it seem so easy! Thanks for linking to the Stinky Linky Party!
ReplyDeleteOh WOW, Myric, this is just too dreamy! I love it! And I saw your header and went "OH MY GOSH!" I adore that nest! (((hugs))) to you, my friend.
ReplyDeleteXO
Cindy
Lovely project. I can see this picture on burlap fabric and made into a pillow.
ReplyDeleteI have a laser printer. I have tried the other tranfer techniques and they did NOT work for me. I am very interested in this one.
ReplyDeleteWhat did you use to seal the image? It is not listed in the items needed for the project.
I love your banner idea. I have been thinking to do something like this for artwork and I like the lace edging idea a lot!
that is sooo cool. i am going to have to try using wax paper. your image transfer turned out great!
ReplyDeleteJennifer
http://decoratedchaos.blogspot.com